Summary
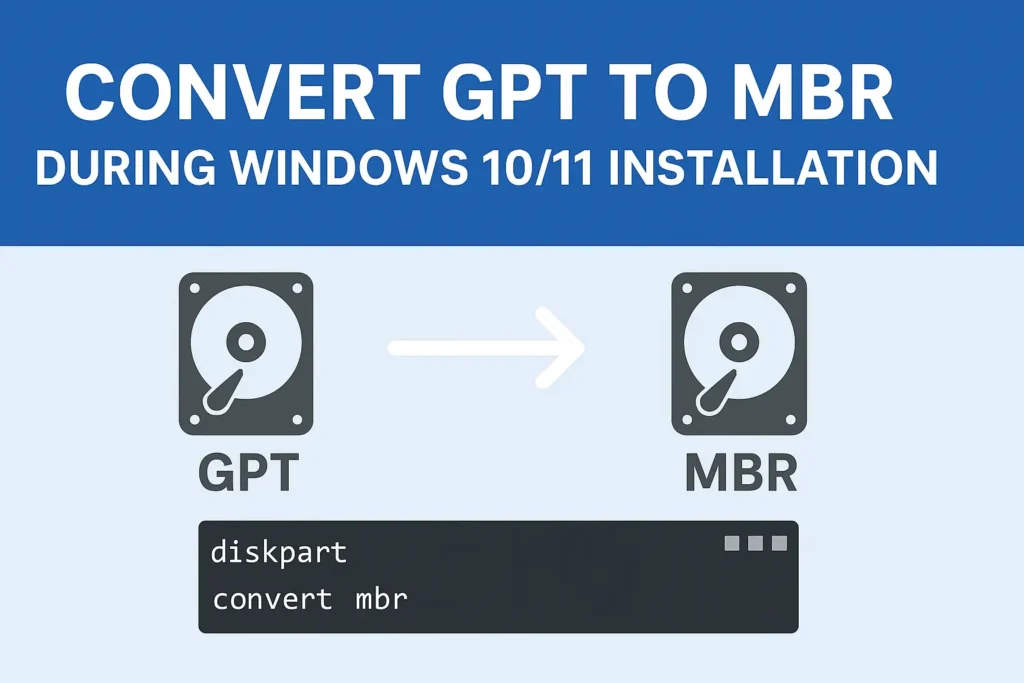
Learn how to convert GPT to MBR during Windows 10/11 installation. Fix partition style errors, switch to Legacy BIOS, and install Windows without issues.
Table of Contents:
Easy Guide: How to Convert GPT to MBR During Windows 10/11 Installation
Sometimes during a Windows 10 or Windows 11 installation, you may see this error:
“Windows cannot be installed to this disk. The selected disk is of the GPT partition style.”
This happens when your PC is set to boot in Legacy BIOS mode, but your hard drive is formatted as GPT instead of MBR. The fix is simple—convert GPT to MBR during Windows installation.
In this guide, you’ll learn why MBR is needed in Legacy BIOS systems and the exact steps to convert GPT to MBR during Windows 10/11 installation.
Why Convert GPT to MBR During Windows 10/11 Installation?
Some situations require MBR:
-
✅ Legacy BIOS systems only support MBR.
-
✅ Older PCs cannot boot from GPT.
-
✅ Windows 7/8 often need MBR in BIOS mode.
-
✅ Required when UEFI boot is disabled.
👉 If your system doesn’t support UEFI, converting GPT to MBR is the only way to proceed with installation.
GPT vs MBR Partition Style
Before converting, understand the difference:
-
GPT (GUID Partition Table): Works with UEFI, supports large drives (>2TB), allows many partitions.
-
MBR (Master Boot Record): Works with BIOS, supports up to 2TB, limited to 4 partitions.
Microsoft explains it in detail here: Configure MBR and GPT Partition Styles.
Step-by-Step: How to Convert GPT to MBR During Windows 10/11 Installation
Step 1: Boot from Installation Media
Insert the Windows USB/DVD installer and boot into setup.
Step 2: Open Command Prompt
On the installation screen, press Shift + F10.
Step 3: Convert GPT to MBR Using Diskpart
Type these commands:
⚠️ Warning: This will erase all data on the selected disk.
Step 4: Continue Installation
Close Command Prompt, refresh the disk list, and proceed with installing Windows on the MBR disk.
Common Errors and Fixes
Error: “Windows cannot be installed to this disk. The selected disk is of the MBR partition style.”
This means your system is in UEFI mode but the disk is MBR. Solution → Enable Legacy BIOS in BIOS settings.
Error: Disk not detected after conversion
Check BIOS boot mode, refresh installation screen, and confirm correct disk selection.
How to Convert MBR to GPT During Windows 10/11 Installation
FAQs: Convert GPT to MBR During Windows 10/11 Installation
Q1. Can I convert GPT to MBR without losing data?
Yes, with third-party tools. Diskpart will erase the disk.
Q2. When should I use MBR instead of GPT?
When your PC uses Legacy BIOS and doesn’t support UEFI.
Q3. Can Windows 11 run on MBR?
No. Windows 11 requires GPT with UEFI.
Q4. Is MBR outdated compared to GPT?
Yes, MBR is older, but still needed for some older BIOS-based PCs.
Conclusion
Converting GPT to MBR during Windows 10/11 installation is necessary for older BIOS systems. Using Diskpart, you can quickly switch partition styles, though it erases data.
👉 For data safety, consider using professional partition tools.


