Table of Contents:
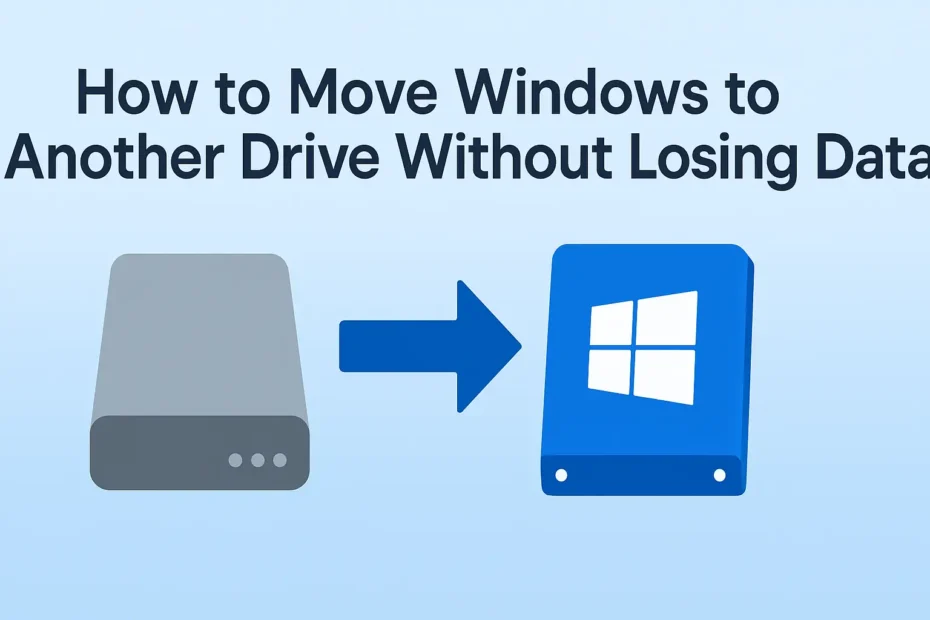
Transferring Windows from HDD to SSD: Full Guide Without Losing Data
Upgrading from a hard drive to a solid-state drive (SSD) is one of the most effective ways to breathe new life into your PC. If you’re worried about losing data or reinstalling everything, don’t worry — transferring Windows from HDD to SSD can be done safely and easily using free tools.
In this guide, we’ll show you how to move your Windows installation from an HDD to an SSD step-by-step, without the need for a fresh install or risk of data loss.

🚀 Why Move Windows from HDD to SSD?
SSDs are significantly faster than traditional hard drives. By making the switch:
Your PC will boot up in seconds
Programs and files will load faster
Laptops will enjoy improved battery efficiency
You’ll experience less risk of hardware failure (no moving parts)
Instead of reinstalling Windows and all your software, you can migrate your entire system using disk cloning tools.
🔧 What You’ll Need Before Starting
Before beginning the process, gather the following:
✅ A new SSD with enough storage space
✅ Your current HDD with Windows installed
✅ Free cloning software like Macrium Reflect Free or EaseUS Todo Backup Free
✅ A USB-to-SATA adapter (for laptops) or open SATA slot (for desktops)
✅ Optional: An external backup of your data (for safety)
Tip: Always back up important files before doing any system migration.
🛠️ Step-by-Step: How to Transfer Windows from HDD to SSD
🔗 Step 1: Connect the SSD
For desktops, install the SSD internally via a SATA or M.2 connection. Laptop users can connect the SSD externally using a USB adapter.
Then, go to Disk Management (Win + X > Disk Management) to ensure the SSD is recognized.📥 Step 2: Download and Install Cloning Software
We recommend:
These tools allow you to clone your entire Windows system, including boot files, apps, and personal data.
🧬 Step 3: Clone Your HDD to the SSD
Open the software and follow these general steps (based on Macrium Reflect):
Select your HDD as the source disk
Choose your SSD as the destination
Use the “Clone this disk” option
Ensure required partitions (System Reserved, C:) are selected
Start the cloning process
Cloning duration depends on data size and drive speed.
⚙️ Step 4: Boot from the SSD
Once the clone is complete:
Restart your PC and enter BIOS/UEFI (press
Del,F2, orEscduring boot)Set the SSD as the first boot device
Save changes and exit
Your computer should now boot from the SSD, running Windows just like before — only much faster.
🧹 Step 5: Format the Old HDD (Optional)
After verifying the SSD works correctly:
Open Disk Management
Right-click the old drive
Select Format or use it as a secondary storage drive
Important: Only do this after confirming your SSD is fully functional.
🧠 FAQs About Moving Windows to an SSD
❓ Will I lose any files?
No. Cloning keeps everything intact — files, apps, settings, and your system license.
❓ Do I need a new Windows license?
No. As long as your motherboard doesn’t change, Windows remains activated. Signing in with your Microsoft account helps retain activation.
❓ Can I use both drives after migration?
Yes! Many users keep the SSD for Windows and programs, and use the HDD for large files, backups, or media storage.
❓ What if my SSD is smaller than my HDD?
As long as the used space on your HDD is less than the capacity of the SSD, you can still clone. Some tools even allow partition resizing during the process.
Extra Tips for Transferring Windows from HDD to SSD
💡 Use GPT or MBR based on BIOS compatibility
🔌 Avoid interruptions during cloning
⚙️ Enable TRIM support on SSD after migration
🌐 Use Microsoft login to retain license info
🎯 Final Thoughts
Transferring Windows from HDD to SSD is a powerful way to enhance your system’s performance without losing your valuable data. With free tools like Macrium Reflect, the process is surprisingly simple—even for beginners.
Instead of reinstalling everything from scratch, follow this guide to clone your OS and experience the speed of solid-state storage. It’s one upgrade that truly pays off.